Thursday, 2 October 2014

Anastasia Beverly Hills dip brow pomade - review

When I first started out with makeup I didn't know what to do with myself and the thought of trying to shape/colour my brows was a big no. Forward to a few years later and I wouldn't leave the house without my big overdrawn brows! 
I've tried pretty much every brow product you can find from gels to pencil and to be honest I like to just use abit of everything. When the anastasia beverly hills brand was brought into the beauty world I fell abit in love and knew I'd be drawn in! My main love was for the dip brow pomade..I was scared but in love at the same time.
The packaging itself is enough to love,small enough to fit in any bag and with so much product inside you'd think you'd need a lot to make up on brow,but a little dip into the pot with your brush and you can do both brows - a little definitely goes a long way! 
When it came to picking a colour I was abit stupid and went on the colour in the picture rather than the colour I actually was. If I brought if again I would probably go for the light brown however the auburn isn't too bad for me just abit darker but who doesn't love a big old brow! 
I start by taking spooley brush and brush/shape through the brows,I then take my angled brush and take a little of the product and shape my brows(usually abit too heavy) and then I'll finish by taking abit of my concealer to clean around the outside! 
And here's the finished look. I'm still working on how to use the and make my brows look oh point but for now this isn't too bad I don't think 

Enjoy xx


Tuesday, 30 September 2014

Big brows. Big lashes. Bold lips!

I woke up yesterday so tired/drained the thought of making my face look good was the last thing I wanted to do but as most of you know I'm not leaving the house without my makeup on so it was time for one of those lazy makeup tutorials! 
I did my usual face routine (foundation,concealer,ect) and then I started with the royal and langnickle brow/lash brush. I started with the spooley end to tame the brows and then took the angled end with my benefit brow zings in light and filled them quite heavy handedly to get myself some big old brows! 
I next took my benefit high brow pencil and took it under my brows to lift them up abit and then applied it the water line to make my eyes look bigger (this step is optional but I love using it to make my eyes look huuuuge) 
I then primed my eyes ready for the eyeshadow and took the naked 1 palette and took the colour naked on my royal and langnickle smudger brush and took that lightly in the crease and with any product left on the brush took that on the lower lash line. I then took the colour sin and applied a little of that that to the lid! 
The last part is mascara,because I wasn't  using liner like I usually do I used 3 different mascara to get the effect I wanted. For this I used the benefit they're real,smash box full exposure and bare minerals lash domination! 
Because the makeup was fairly basic I felt like I could go abit darker on the lip and decided to go for a dark berry colour! I used the rimmel moisture renew in glam plum fulham! I think the best part about this makeup is that you can go as dareing as you want on the lip as the rest of the makeup is so minimal! 
And that's the look done! It's super quick and easy to do if you're trying to rush in the morning or if you're just feeling abit lazy! 

Enjoy xx

Sunday, 28 September 2014

Autumn Berry makeup tutorial

Yesterday's makeup was supposed to be a nude look but I forget to clean my brush and ended up with a plum/berry look which I actually ended up preferring!
started by using my trusty urban decay primer potion in Eden to make the colour last all day and to smooth out the colour of my eyes 
I then used my set of royal and langnickle silk pro brushes and took the brush called smudger and the naked basics palette and the colour faint and took this colour in the crease and the lower lash line. This colour works well as a transition colour so the next eyeshadow is able to blend out better than it would alone!
I then took probably one of the cheapest palettes I own from a brand called technic and it's a dupe for the urban decay electric palette but for only £1.99 I had to buy it! The pigment isn't as strong as the u.d one if but with a white pencil as a base the colours come out pretty strong! To apply this colour I used the silk pro angled shader brush in the crease and then took it on the lower lash line with the same brush! 
I then went back to the naked basics palette and took the colour w.o.s on a real techniques accent brush and packed this colour onto the lid! I then took the colour Venus on the same brush and applied that to the inner corner 
I then took my two favourite eyeliners. Benefit high brow which I applied to the water line to brighten the eyes and rimmel scandal eyes which I applied to the upper lash like and slightly winged out! 
I lastly applied lashings of my favourite mascara,benefit they're real (of course) and the look is completed! 
I'm absolutely adoring plum/berry/burgundy colours now it's getting into autumn and this is the perfect look as it's still wearable in the day but can be dressed up abit with a bold lip and big lashes for the night! 


Enjoy xx

Wednesday, 24 September 2014

Cat Eyes tutorial

Today's tutorial is something abit different ,I found some cat ears I'd brought last year the other day and decided to do a tutorial around those - a sort of cat eye inspired look! 
I look revolves around making the eyes look more like a cats (obviously) using my felt liner to wing out and take into the very inner corner! (I'm also trying out a different background today)
I started off by moustrising my face with the this StriVectin tightening face serum,I needed a new moisturiser to try and my mum kindly gave me this one,I only used it yesterday for the first time but I really liked it! I then primed with the max factor face finity primer,slowly becoming my new favourite primer! 
Next it's time to make my skin look some what normal! I used my L'oreal true match foundation in rose ivory to make my face look abit more even and nice and then concealed my face with the mac studio finish in nc20 and the famous collection concealer in number 2!
I then set the foundation and concealer and got rid of any of the shinyness in the face with the mac mineralise skin finish in light! 
Next it's time to add some colour and contour to my face! I used a contour brush and mineralise skin finish in medium plus to carve the cheeks out and then added nars casino over the top to add some more colour 
I then added abit of my rockateur blush for abit more colour and then highlighted with mineralise skin finish in soft and gentle (the best thing ever) 
I brushed my eyebrows through to give them some sort of shape and then used the benefit brow zings set to make them abit darker and bolder! 
For my eyes I used my go to palette at the minute which is the Stila in the know palette! I used the colours driftwood,a darkish brown,desert,a light brown as my blending everything out colour and air on the lid and inner corner,a pale white!
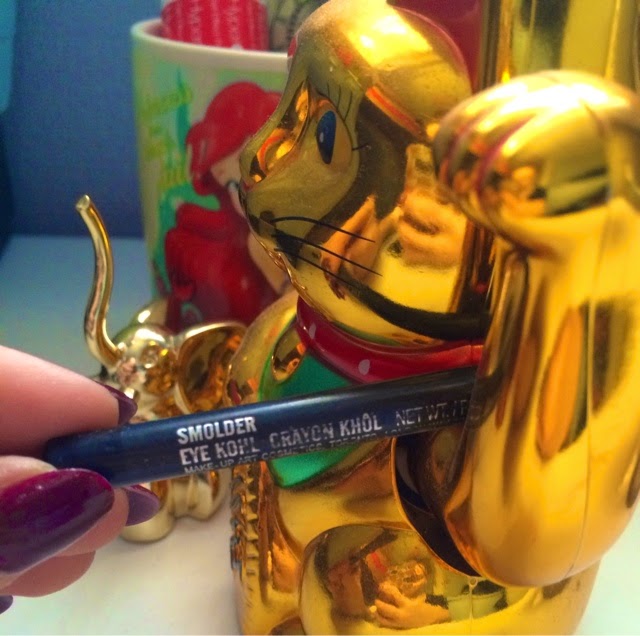
I lined my water liner with mac smoulder and liner my lid and winged it out with the rimmel ScandalEyes felt liner! 
I lastly added lots and lots of mascara to my lashes using benefit they're real and smashbox full exposure and you're done! 
I'm really loving this look and it would be perfect if you want to do abit of dressing up for Halloween but you don't want to be drawing whiskers and a nose on your face! 
(Selfie alert)

Enjoy xx

Monday, 22 September 2014

Vampy autumn makeup tutorial

With autumn now fast approaching it's getting me super excited to bring a few darker colours into my beauty looks whether it be with my lips,eyes or nails I've been loving my dark purples,reds,browns and blacks at the minute. 
I came up with this "vampy" look while getting ready a few days ago! As much as a love a big old smokey eye,everyone's knows you can't go bold eye,bold lip. So instead of layering on the eyeshadow and the liner and the lips I decided to go for abit more a muted dark eye and a full on lip! And I thought I'd take you through what I used for the look!

I started by priming my face (which I didn't take a picture of) with the max factor face finity primer and I've fallen in love with this stuff! I've sort of stole it off my mum until pay day,I'll definitely be purchacing this stuff. 
Next it's time for the face and obviously what else could I use but mac...
I started with foundation and went for mineralise moisture in nw20 I love this stuff it gives me a good coverage and is really builable but doesn't feel like you're actually wearing anything. I used the studio finish concealer in nc20 to conceal an spots,redness and the dark circles under my eyes. I then highlighted my face with the pro concealer palette in light and this should be in everyone's makeup bag,the best thing I ever brought! I then set the lighter areas of the face with mineralise skin finish in light and the rest of the face with mineralise skin finish in medium plus! 
Next it's time to add abit of colour to the face. I start with contouring/bronzing my face with nars bronzer in casino,I then added abit of colours to the cheeks with the rockateur blush from benefit and then highlighted the tops of the cheekbones with mac mineralise skin finish in soft and gentle. 
For my eyebrows I used something I haven't used in ages,benefit brow zings and I forgot how brill this makes my brows look I've been loving it! 
I then primed my eyes with my urban decay primer potion in Eden and for this look I used the Stila 'in the know' palette 
I started with a colour called clay and used this as my transition colour,I then applied the colour ebony to the crease and blended and blended so it wasn't too dark but still noticeable...I lastly applied the colour wind to the lid and the inner corner and the eyes are done! 
I then added lashings of mascara as I wasn't using an liner,to make them look false. I used the benefit they're real and smashbox full exposure! 
The last thing to do was lips. I usually like to apply a liner to my lips first if I'm using a dark lipstick but I forgot to do it so I just went straight for the lipstick. I was feeling a dark burgundy colour and went for this beautiful colour from rimmel called glam plum fulham,this lipstick is super moustrising and doesn't dry your lips out like some darker lipsticks sometimes do! 
And you're done! I love this look and  definitely going to be using a lot of darker colours especially on my lips now it's coming into autumn! 

Enjoy xx